


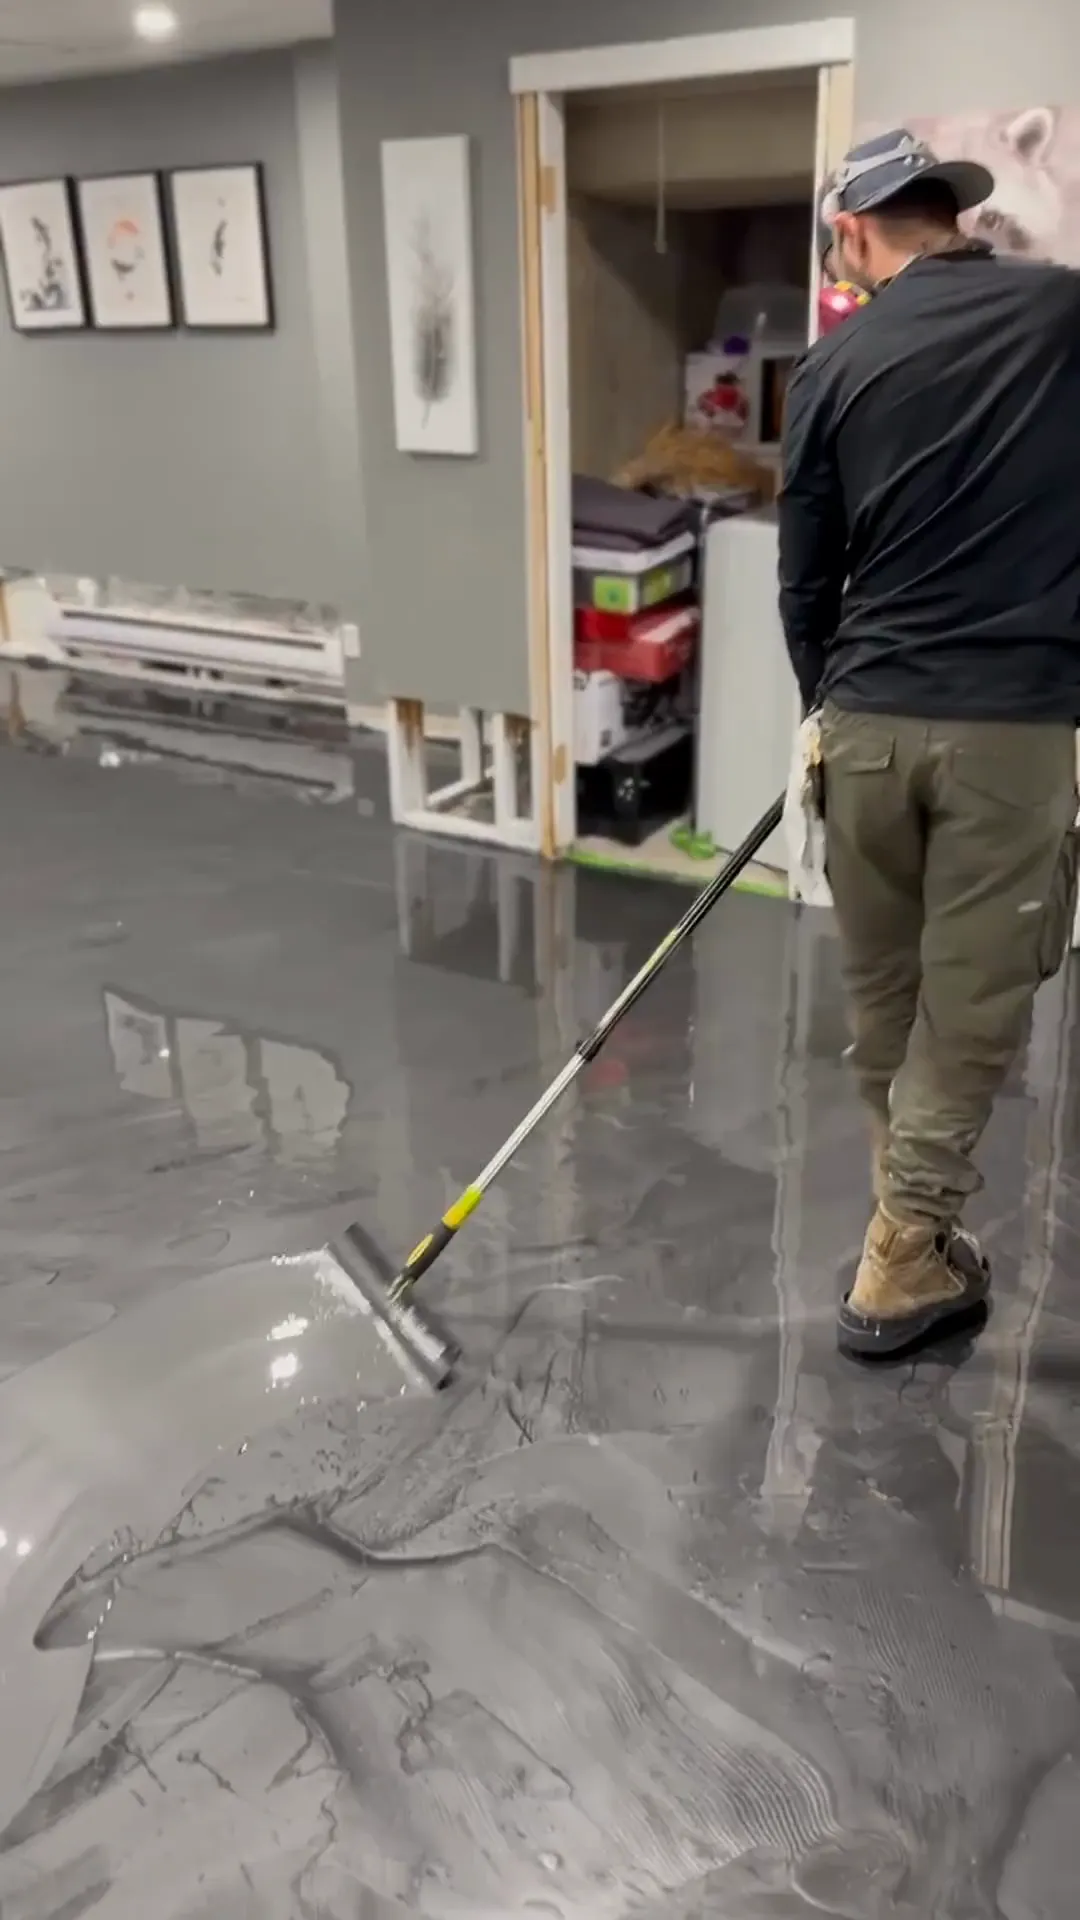
A residential epoxy floor installation generally takes 2 to 4 days for a standard garage, including the concrete preparation, applying the coats, and the cure time. A polyaspartic system can shorten that to 1 or 2 days thanks to faster drying, while offering comparable durability.
The steps of a residential epoxy floor installation
A professional installation always follows a structured process. Skipping a step or rushing it directly undermines the durability of the floor.
- Inspection and concrete preparation: diamond grinding or shot blasting to open the pores and remove contaminants
- Repairing cracks and imperfections: epoxy filler to even out the surface
- Applying the primer: a bonding coat essential to adhesion
- Applying the finish coats: epoxy and/or polyaspartic, with or without decorative flakes
- Curing and hardening: the period during which the floor must not be walked or driven on
Each step has its own drying time, and skipping this progression shortens the coating's lifespan.
How long each step takes
Concrete preparation
Generally count on half a day to a full day, depending on the condition of the existing concrete and the size of the garage or space.
Applying the coats
The application itself is fast, often done in a single day for a typical residential garage. It is the drying between coats that sets the real duration of the job.
Cure time
- Traditional epoxy: 24 to 72 hours before walking on it, up to 5 to 7 days before driving a vehicle on it
- Polyaspartic: often walkable within a few hours and ready for a vehicle in 24 to 48 hours
This difference in curing is why many homeowners choose polyaspartic for a garage used every day.
Factors that influence the total time
Several elements can lengthen or shorten the quoted timeline:
- Initial condition of the concrete: cracks, oil contamination, or residual moisture call for extra treatment
- Size and layout: a double garage or a complex basement takes more time than a simple space
- Ambient temperature and humidity: a poorly controlled environment slows the drying between coats
- The system chosen: pure epoxy, polyaspartic, or a combination of the two, each with its own timelines
- Decorative finishes: adding flakes or custom designs that require an extra coat
An industrial floor or a post-disaster project may also require additional drying steps depending on the building's residual moisture.
How to speed things up without compromising quality
Speed should never come at the expense of preparation. Poorly prepared concrete, even with the fastest system, will lead to early peeling.
What genuinely saves time without sacrificing durability:
- Choosing a polyaspartic system when the schedule is tight
- Planning the installation during a period when the indoor temperature is stable
- Trusting the job to a team that has mastered the prep-and-application sequence
- Arranging site access ahead of time to avoid logistical delays
To know the exact timeline for your space, it is best to request a quote based on the current condition of your concrete.
What to plan for before and after the installation
Before the job, clear the space completely and provide unobstructed access for the crew. After the installation, follow the cure times exactly, even if the floor feels dry to the touch. A vehicle parked too soon can leave permanent marks in an epoxy that has not finished hardening.
It is also recommended to provide adequate ventilation during the first few days, especially in the Quebec winter when indoor humidity can vary.
If you are planning a residential, commercial, or post-disaster floor project, get a quote for a precise schedule suited to your situation.
Related reading: